Shape properties and formulas
Vecta's powerful Shape Properties allows you to view and edit a shape exactly the way you wanted, by typing in exact dimensions, even with expressions and multiple units.

Viewing Shape properties
To view the Shape Properties dialog:
- Click on menu View | Show Properties
Whenever you modify your shapes, Vecta will automatically show changes to dimensions on shape properties.
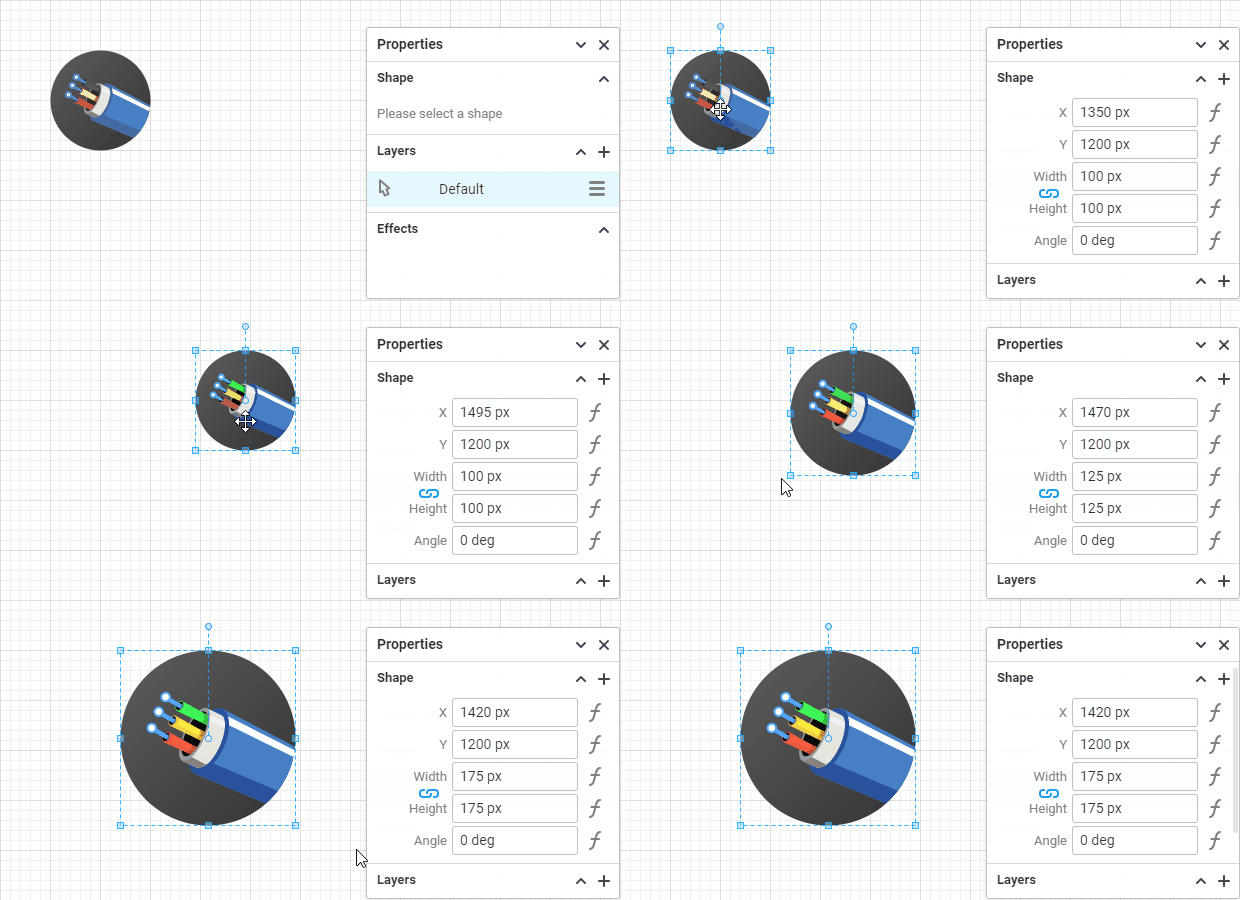
Adding a field
To add more fields to view:
- Click on the + icon on Shape Properties and select a field

Removing a field
To remove an added field, just hover on the field and click on the Trash icon.
Fields shown by default not removable.

Entering values
To change a shape dimension:
- Click on the field and type away
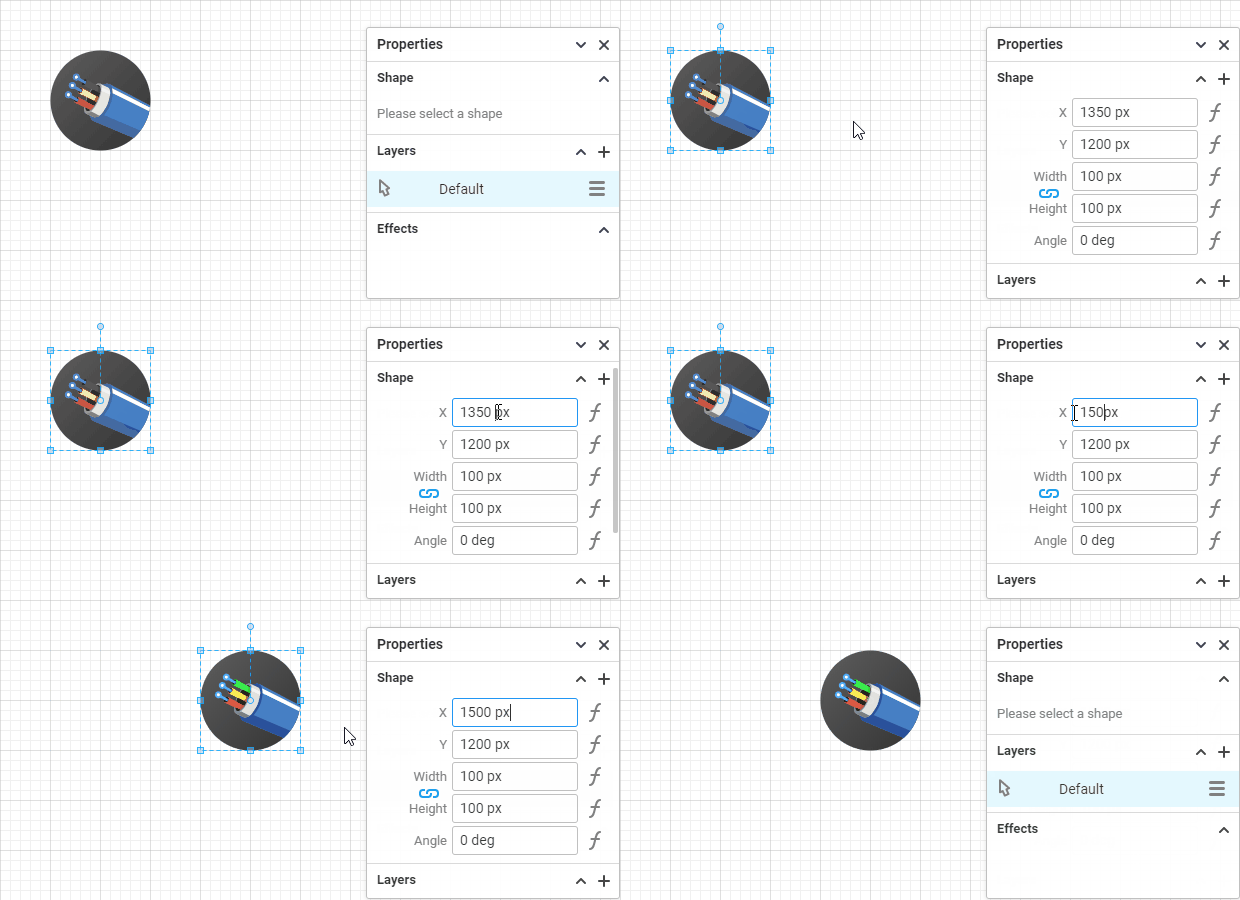
Entering units and expressions
To enter expressions and units:
- Click on a field and type away
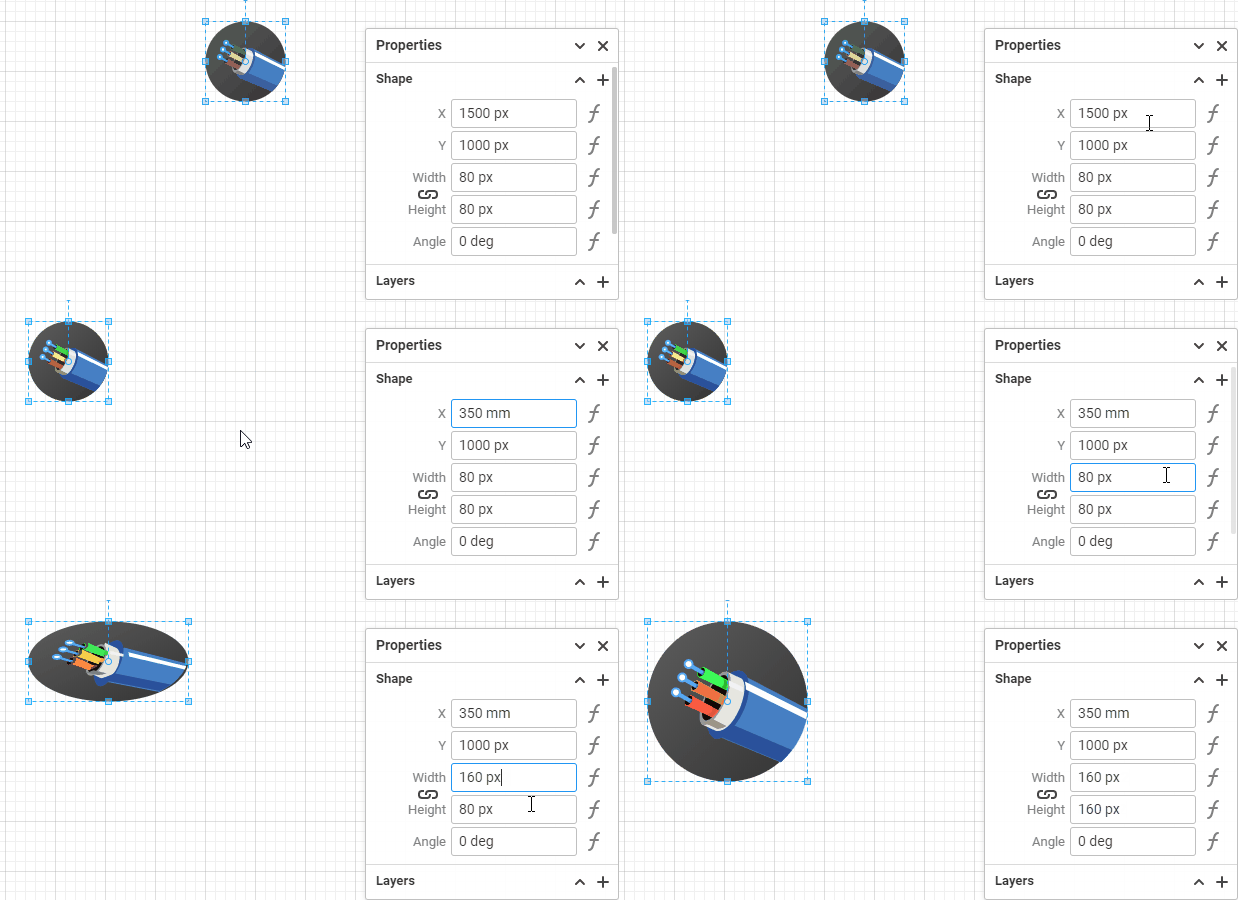
Vecta accepts px, in, cm and mm for all length units.
Locking aspect ratio
To resize a shape with locked aspect ratio:
- Click on the Aspect ratio icon
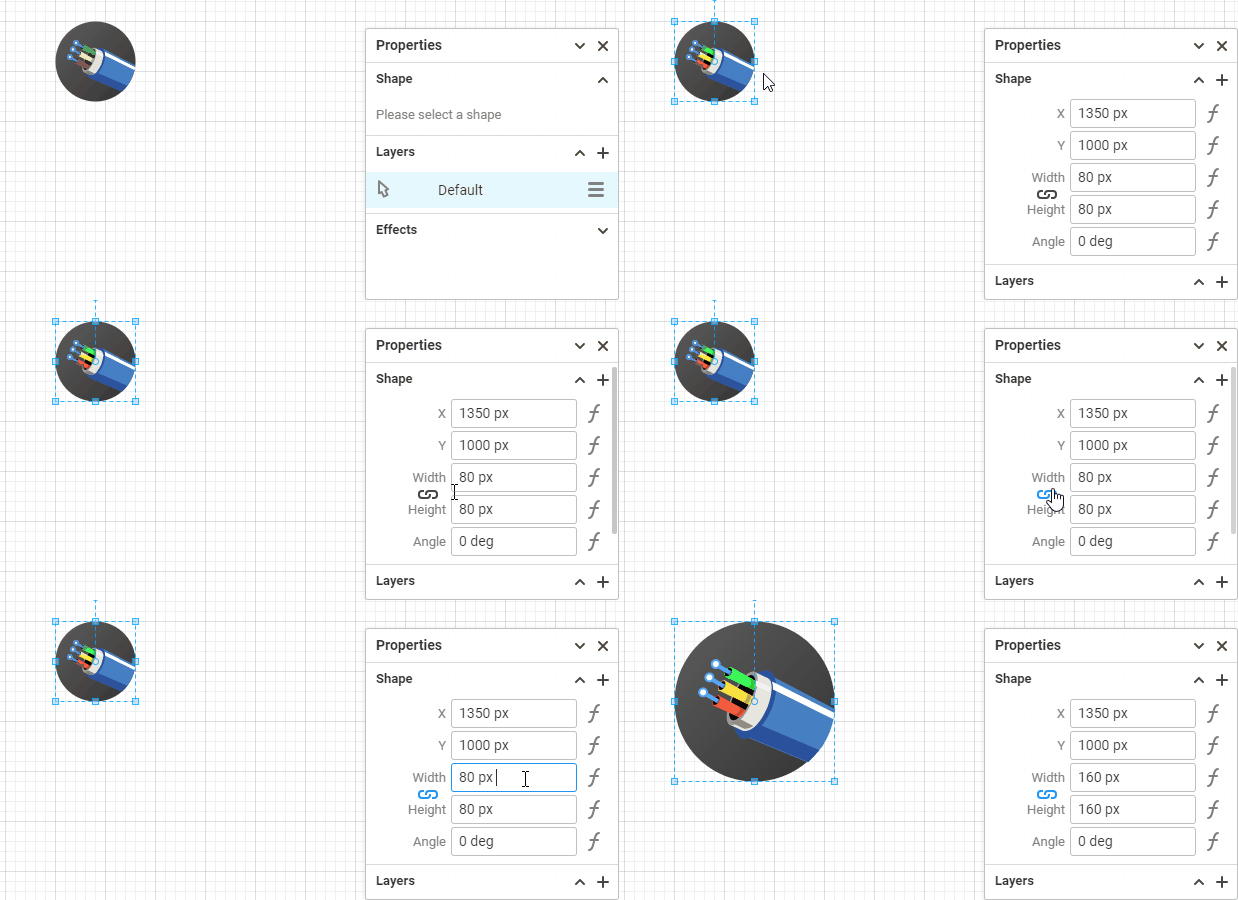
Viewing and entering formulas
To view formulas:
- Click on the Formula icon
Example: Create a shape with constant width
- Click on a shape, then on Formula icon
- Enter a formula on the width field
- Switch back to Value view by clicking on Formula icon again
The shape will now always use the formula as width, while height is still adjustable.
The width field will now be disabled, because it has a formula, but the resulting value from the formula will continue to be shown.
Example: Create a shape that adjust to text height
- Click on a shape, and enter some text, then click on Formula icon
- Enter the following formula on the height field:
this.textHeight() + 20 - Click on the shape again, or enter another line of text
To find out more information on formulas and functions, please visit Vecta's open API.
Deleting a formula
To delete a formula from a field:
- Click on the formula icon, then select the formula and press Delete key
Editing formulas on the mini editor
To edit formulas on the mini editor:
- Click on the field menu to the right of the formula, and select Edit Code

Automatically minimizing Shape properties
Vecta's Shape properties dialog is smart, and you can drag over it, to automatically minimize.
To expand the Shape properties:
- Click on the Shape properties expand icon
Viewing text properties
To view text properties on a shape:
- Click on the Text block tool
Editing text line spacing
To adjust text line spacing:
Click on a shape
Click on the Text block tool
Edit text line spacing in the LineSpacing field
Assigning name to shapes
Each shape can be assigned a name which acts like a unique identifier. To assign a name to a shape:
Click on a shape
Add a name field in Shape properties
Type in a name for the shape
Note that the name of a shape are unique, hence a unique ID will automatically be appended if same name is used for multiple shapes.
Automatically incrementing shapes
Automatically incrementing shapes can be useful if you want to have a separate labels for your shapes.
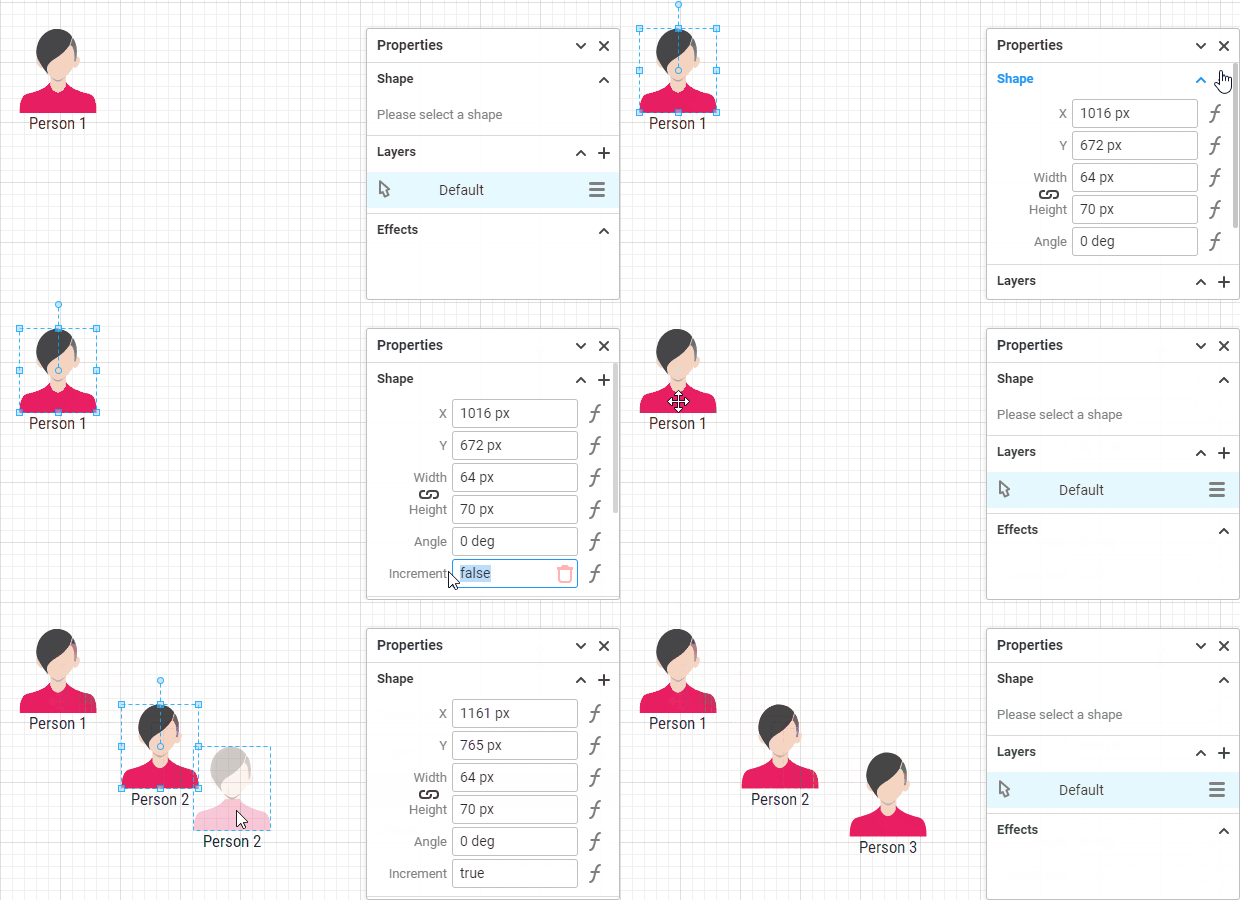
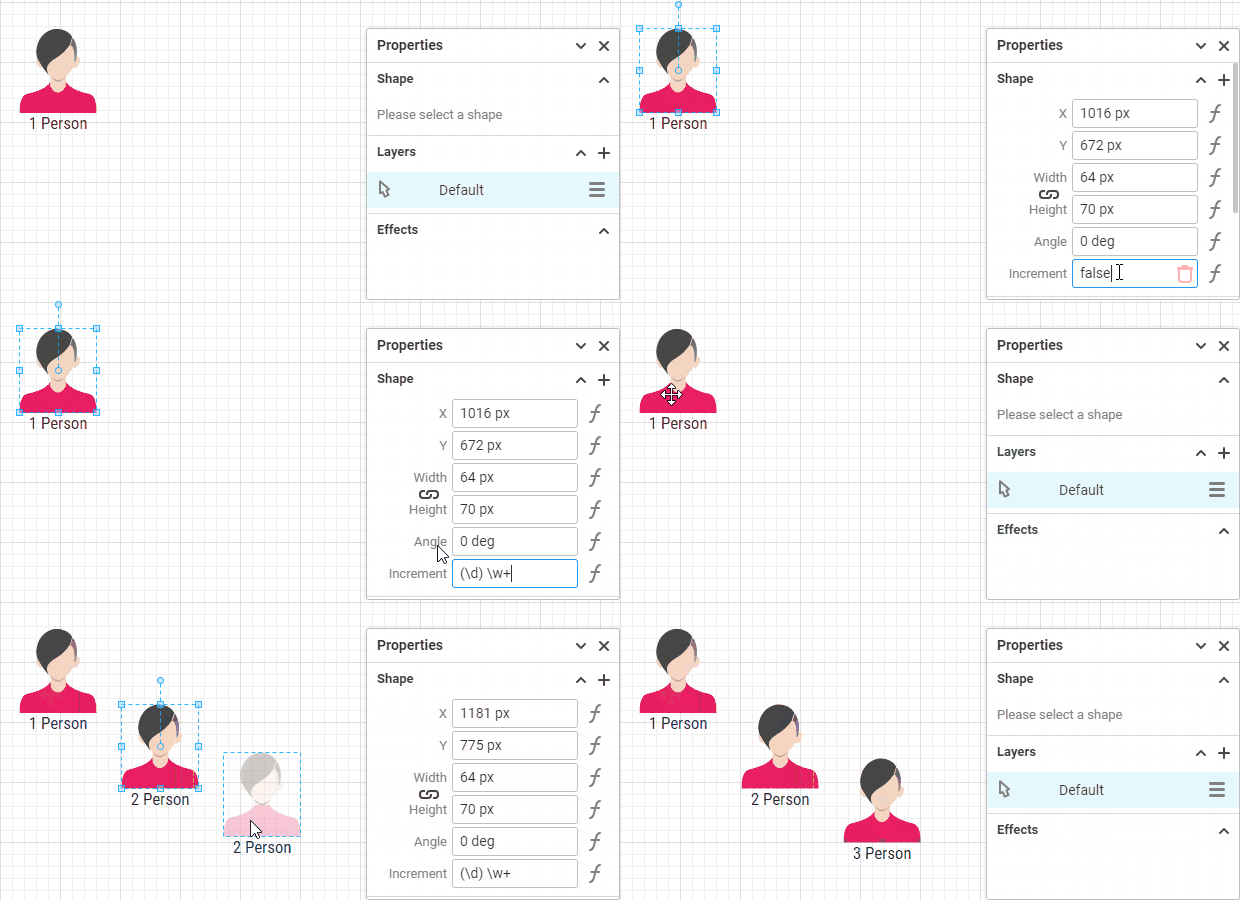
The increment field accepts boolean true or false, in addition to a regex. If a regex is entered, it must contain a capturing field, and Vecta will use the first capturing field to increment.
Let's say we want to name our shapes "1 Person", "2 Person" and so forth. Therefore our regex will be:
(\d) \w+
Resizing line end (arrow)
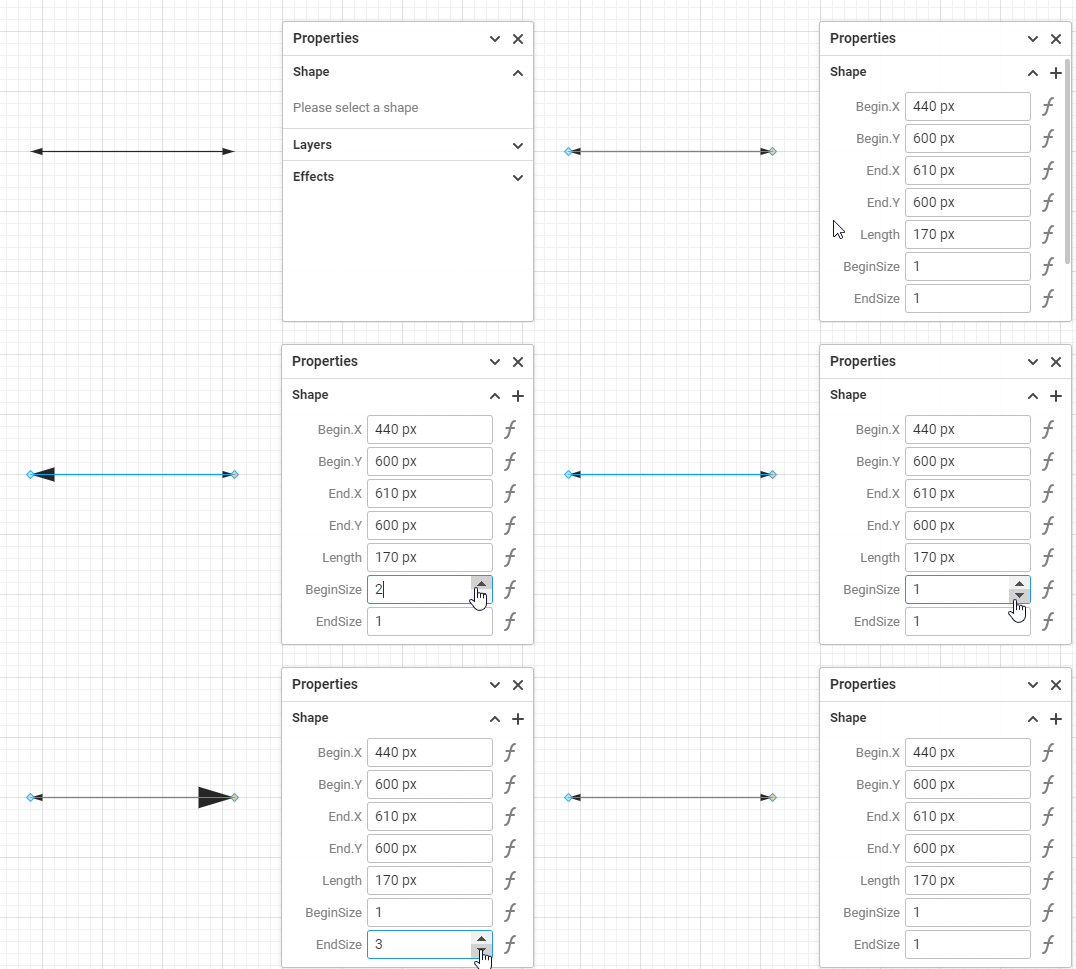
To adjust line end sizing:
Click on a path with line end
Resize the line end in the BeginSize and EndSize field
How to use color palette in custom properties
To access color palette:
- Click the + button
- Choose fill option in the field selection
- Click the palette icon to open color palette


See also
Repeat transformation
To repeat transformation:
Select a shape
Modify the selected shape transformation. Eg: x, y, width, height and etc.
Select another shape that you wish to repeat the transformation
Press ALT + R to apply the transformation.